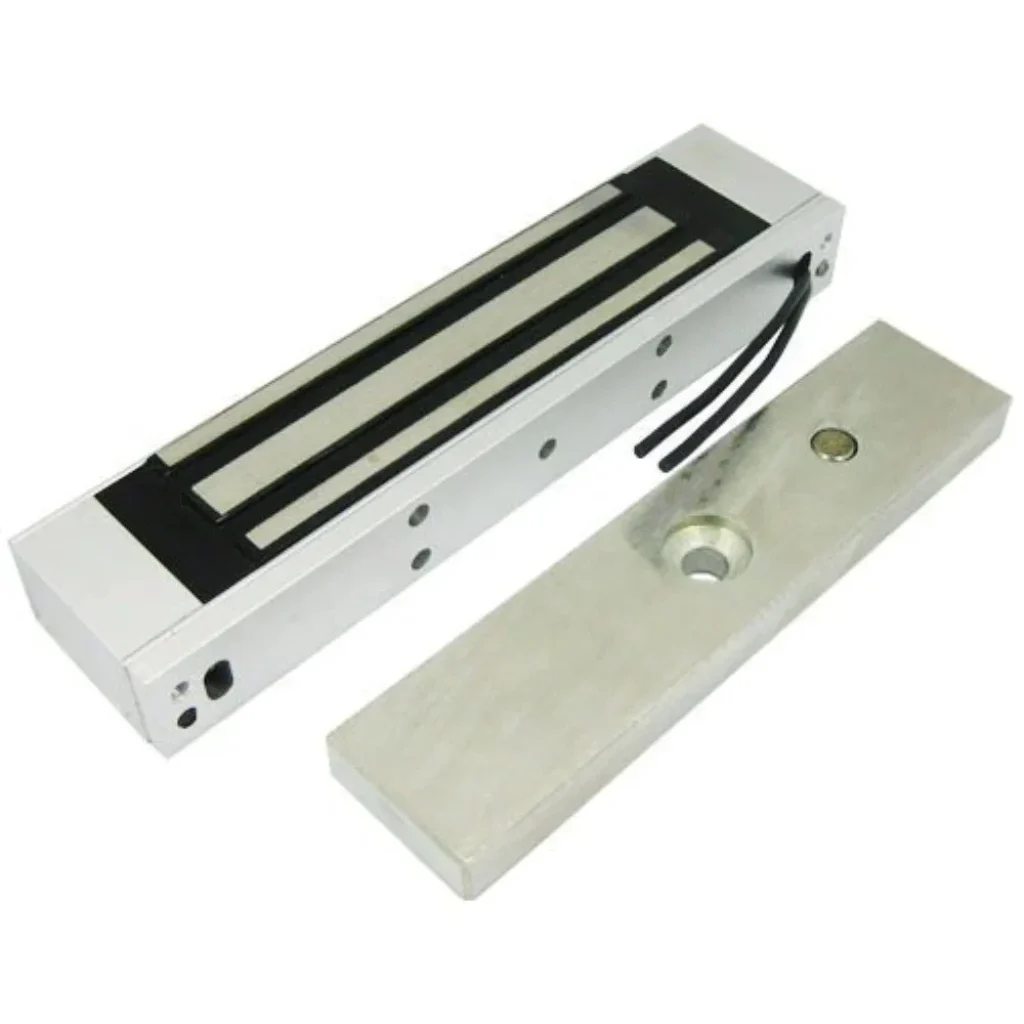
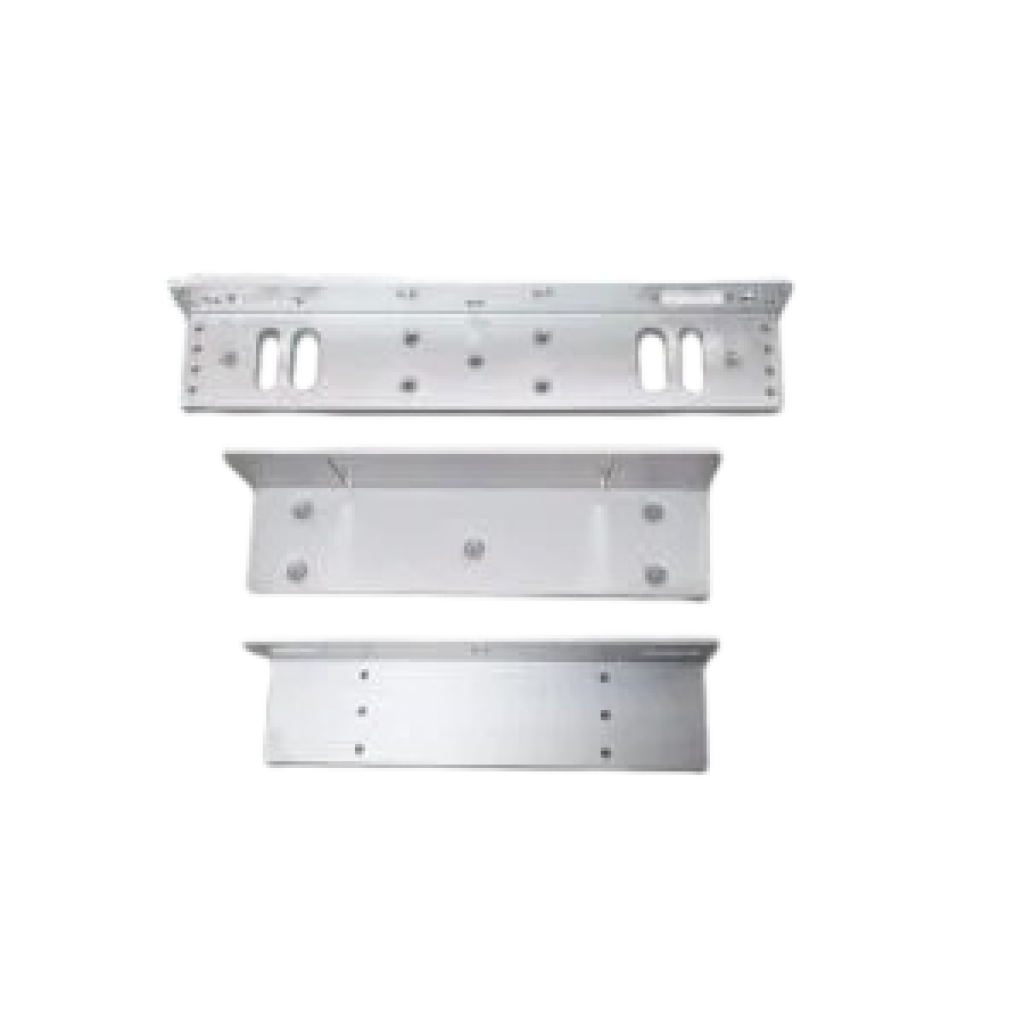
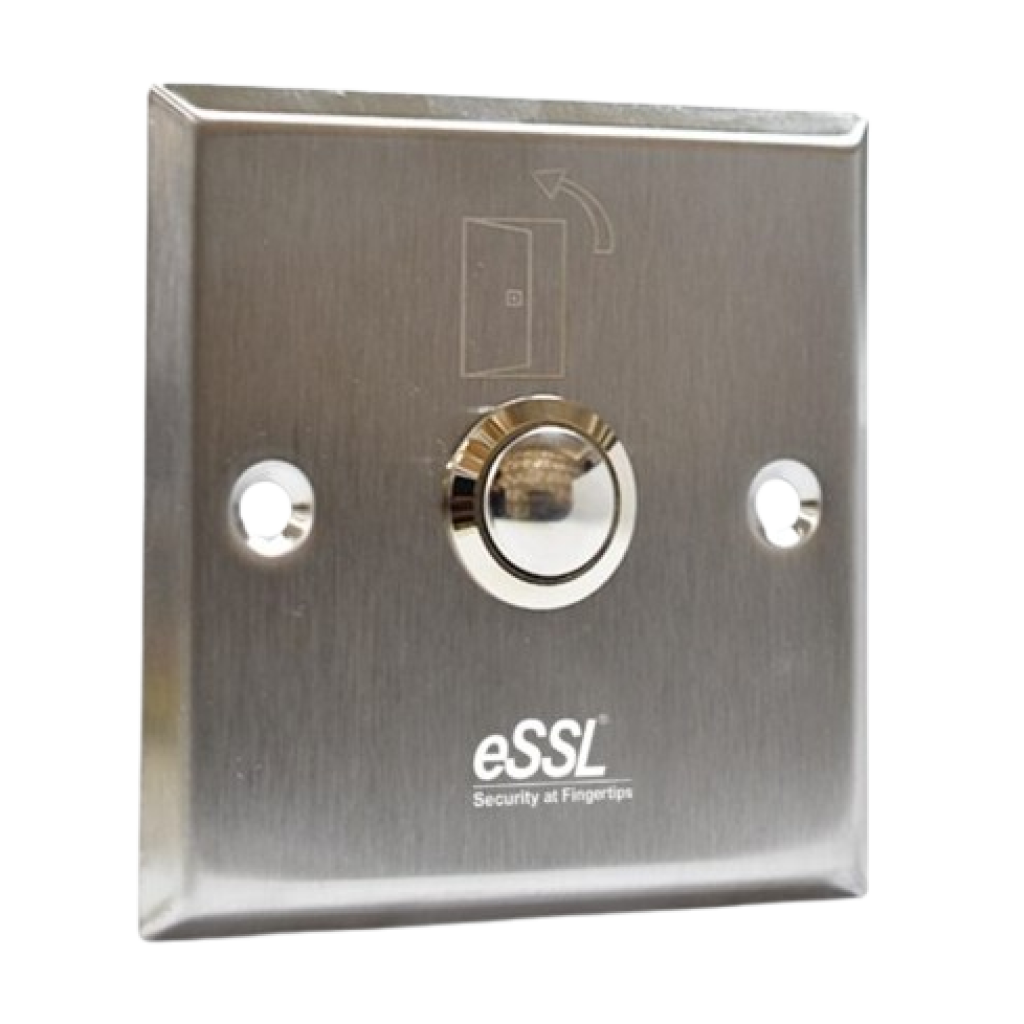
ESSL F22Price - Rs. 10,500Category - Finger PrintFingerprint Time & Attendance with Access Control System - Fingerprints Capacity : 3000,Card Capacity : 5000,Record Capacity : 30,000,Fingerprint sensor : 500 DPI SilkID sensor. Specifications Storage CapacityFingerprint Capacity : 3000Card Capacity : 5000Finger Algorithm : Finger VX10.0Record Capacity : 30000CPU : 32 bit MicroprocessorCoreboard : ZLM60 BiometricFingerprint sensor : 500 DPI SilkID sensorFAR : <=0.0001%FRR : <=1%Identification speed : <0.5 secAlgorithm Ver : 10 VisualeTimeTracklite desktop, web & Cloud CommunicationCommunication : RS232/485, TCP/IP, USB-host, Built in Wi-FiWiegand : In & OutPush Data : Yes(support both static IP and domain server)Standard Features : work code,SMS,DLST, Self service query, Status Switch Standard FunctionsDST, Automatic Status Switch,Record query, T9 input, 14 digit user ID, Anti-passback Mifare (Optional) Power & EnvironmentPower Supply : DC 12V --- 1.5AmpOperating Temperature : 0°C - 45°COperating Humidity : 20% - 80%Dimension (in mm) : (L)158.5 x (W)78.0 x (H)19.4mm Access Control Interface3rd Party Electric Lock, Door Sensor, Exit Button, Alarm Compatible Software and SDKeTimetracklite Desktop & WebSDK for desktop applicationsWeb based Device Manager - Bio Server Helps developers & integratorsSupports 3rd Party Payroll/HRMS/ERP and Other applications 4-in-1 Feature ComboAll essential tools combined for a seamless experiencePrice: Rs. 12,400 (Rs.1,000 courier charges will be extra) ESSL F22Rs.10000 EM LockRs.1600 L/U BracketRs.450 Exit SwitchRs.350 How to Setup ESSL BiometricFollow these Steps for Configuration Step 1 : Change Server AddressLocation: *Main Menu >> Comm. >> Cloud Server Settings*Enable Domain Address: True (ON)Server Address: essl.ndgms.com:86Enable Proxy Server: False (OFF)HTTPS: False *(OFF)Note: Please Share Photo of the screen when settings done.* Step 2 : Check DHCP SettingLocation: Main Menu >> Comm. >> Ethernet/Wireless NetworkDHCP: *True (ON)Note: Please Share Photo of the screen when settings done.* Step 3 : Share Device/Cloud IDLocation: Main Menu >> System Info/About >> Device Info >> Device IDNote: Please Share Photo of the screen.* Setup TutorialWatch Video Tutorial Here See Video